
TECH STEP
Procore – Locations – Let’s Get More Consisent
To drive consistency, setup location within Location manager with these steps:
- Open Procore and navigate to your Project.
- Under Core Tools in the Project Tools section, select Admin.
- In the Sidebar, go to Project Settings section and then select Locations.
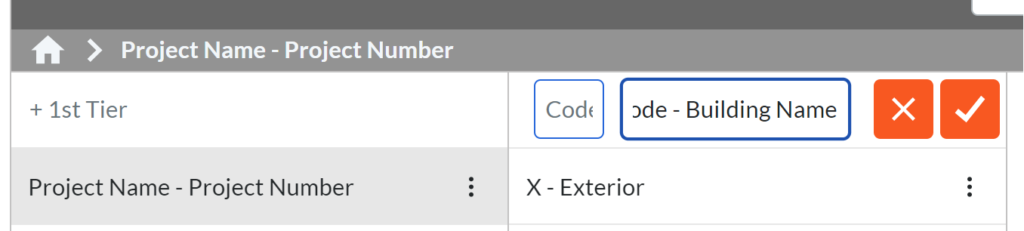
- Find the gray + 1st Tier box at the top left, click it, and enter the first tier based on your location
- breakdown structure (Typically your project number – project name). Press Enter.

- Now, select the project name item in the 1st tier, and enter buildings (or other relevant site locations) in the +2nd Tier Box based on your organization. Repeat this for additional buildings and site spaces as needed.


Procore – Locations – Let’s Get More Consisent
To drive consistency, setup location within Location manager with these steps:
- Open Procore and navigate to your Project.
- Under Core Tools in the Project Tools section, select Admin.
- In the Sidebar, go to Project Settings section and then select Locations.
- Find the gray + 1st Tier box at the top left, click it, and enter the first tier based on your location
- breakdown structure (Typically your project number – project name). Press Enter.
- Now, select the project name item in the 1st tier, and enter buildings (or other relevant site locations) in the +2nd Tier Box based on your organization. Repeat this for additional buildings and site spaces as needed.